1.6.2. Radioddity GD77
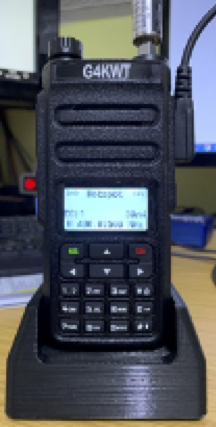
Fig. 1.6 Radioddity GD77
The Radioddity GD77 DMR hand-held transceiver is a pretty mediocre budget Chinese dual-band DMR radio out-of-the-box. However, flash it with the OpenGD77 firmware and it becomes a full-featured amateur analogue/DMR radio. With the OpenGD77 firmware installed it can also be used with a Raspberry Pi, running Pi-Star, as a high-power hotspot.
Details of how to flash the firmware
Details of how to set up the hotspot
The GD77 is connected to a USB port on the Raspberry Pi using the programming cable supplied with the radio.
The hotspot mode is set in the GD77 as follows:
Press the green key to bring up the menu system.
Scroll down to ‘Options’ using the down arrow key.
Press the green key to select it.
Scroll down to the ‘Hotspot:’ entry – default value will be Off.
Press the right arrow key to select ‘MMDVM’.
Press the green key to confirm the setting and return to the main screen.
With the Raspberry Pi and the GD77 powered down, connect the GD77 to one of the Pi’s USB ports using the programming cable. Switch on the GD77 and then power up the Raspberry Pi. Once the Pi has booted up the GD77 should automatically switch into hotspot mode on the frequency set in the Pi-Star dashboard. Any of the Pi’s USB ports can be used for this.
The RF power level can be preset in the Pi-Star dashboard by changing the value in the ‘RFLevel’ box in the ‘Modem’ section of ‘Configuration/Expert/MMDVMHost’. Alternatively you can leave this value at 100 (default) and set the RF power level manually before the GD77 goes into Hotspot mode (by holding down the blue side button on the GD77 and using the left and right arrow keys to select the required RF power level).
The complete User Guide for the OpenGD77 firmware and CPS