1.6.5. DV Switch
DVSwitch is a Client-Server application for Amateur Radio Digital Voice. The application provides a “Server” component which runs on a Raspberry Pi (RPi) or other Linux platform. It can also be installed on a cloud server running Linux. The server component is distributed as an RPi image with all features and functions installed. Therefore, no additional modules or programs need to be downloaded installed for a Raspberry Pi. There are two clients available for DVSwitch. An Android client is available on the Google App store for virtually any type of Android device. In addition, the python Client (pyUC) is available to use on Windows, or Mac.
Details of installing DVSwitch can be found here http://dvswitch.org/DVSwitch_install.pdf. This guide provides an excellent step by step procedure to setup your DV Switch on a raspberry pi.
Warning
The communication between your client and DVSwitch is in no way protected. If you expose your DVSwitch server to the internet other people will be able to connect and send traffic
Once the system has booted you can login via the console or SSH. the default username and password is “dvswitch”. On first login you will be required to change the password. Log back in and issue the command “dvs”. This will bring up a text based menu allowing you to configure the system.
Use the “tools” menu to update and upgrade the Pi-Star, this will install all the latest version of all the packages which might take a while to complete.
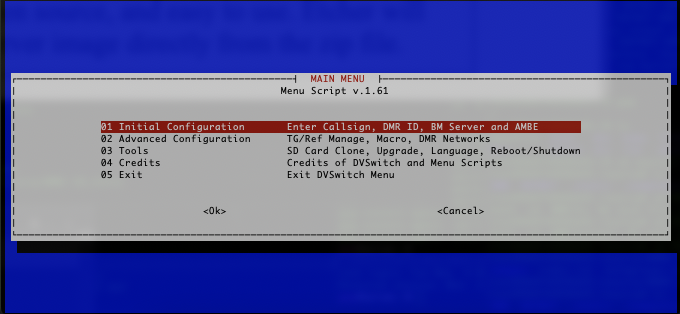
Work through the “Initial Configuration” menu, which will ask basic questions such as your callsign, DMRID, and what repeater ID this should be. At this point you should be connected to your chosen DMR service.
Warning
DVSwitch must be seen as a simplex repeater. To do this you need to make sure the Fake TX and RX frequencies are the same. These frequencies are not used for any transmission but required as part of the configuration.
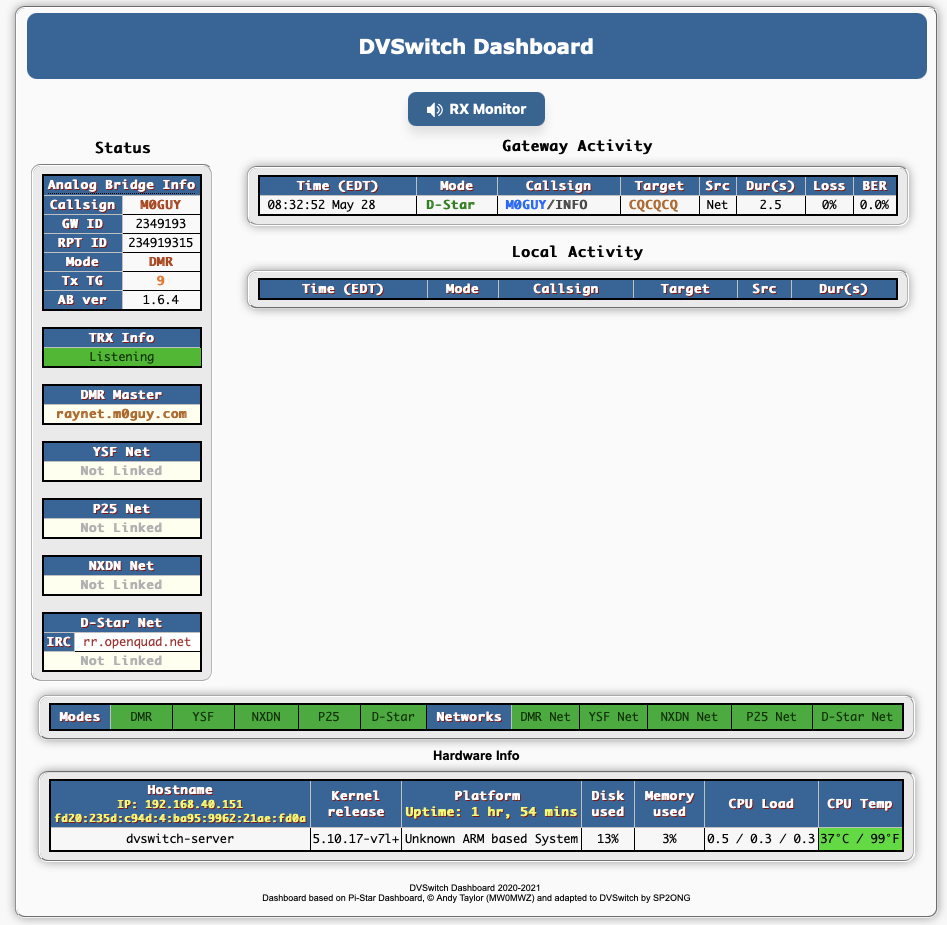
You can access the DVSwitch dashboard via the URL http://<DVSwitch-IP>/
To switch over to RAYNET you need to use the “Advanced Configuration”, and select “Additional DMR Networks”. Select “Configure DMR Server”, “Other1 Network”
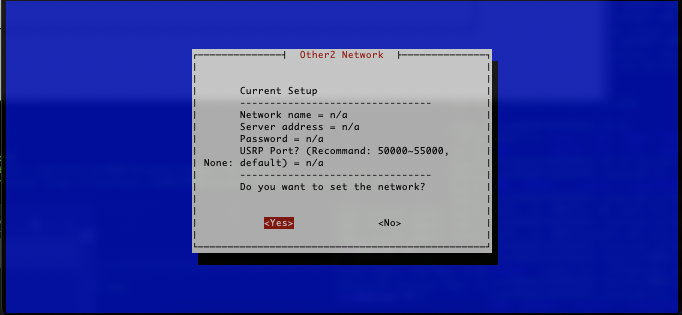
You can now work through these settings. Make sure to create the peer on the RAYNET server and that it matches the “RepeaterID” for this system and copy created password over DVSwitch.
Once You’ve completed the configuration you can move back up the menus and “Change Default DMR Server”.
You should now be connected to RAYNET DMR and you can exit the dvs menu system.